How to: Get it on screen
We’ve always been big believers in the power of video—in fact, way back in 2017, we even wrote an entire blog post explaining why we thought putting a little money aside for video production was a smart investment for anyone looking to market themselves online.
Three years later, it’s now more true than ever before.
In fact, according to a report compiled by HubSpot in 2020 …
- 93% of brands have gotten a new customer because of a video they posted online
- 88% of video marketers reported that videos resulted in a positive return on investment
- Over 2 billion logged-in users visit YouTube each month and every day people watch over a billion hours of video on the site (yeah, you read that right)
If those numbers have you all excited and ready to roll, or if you’ve always wanted to dip your toes into the medium of video but have never known how to make it happen, we’re here to help.
The five stages of video production
Stage one: Getting started
If you read “getting started” in the header and thought you were just going to grab a camera and start rolling, you’re going to be a little disappointed. Unfortunately it isn’t (or at least shouldn’t be) quite that easy.
Like any marketing project, it’s important to approach the making of a video as strategically as possible. That means clearly identifying what your objectives are, who your target audience is and where your final video will be running/how it will be viewed.
Once all of those things have been nailed down—and still top of mind—it’s time to start brainstorming.
During this process, try to be as creative as possible and find an idea that will break through the clutter, grab your audience’s attention and clearly and concisely covey your message.
Once you’ve landed on an idea, it is time to write a script.
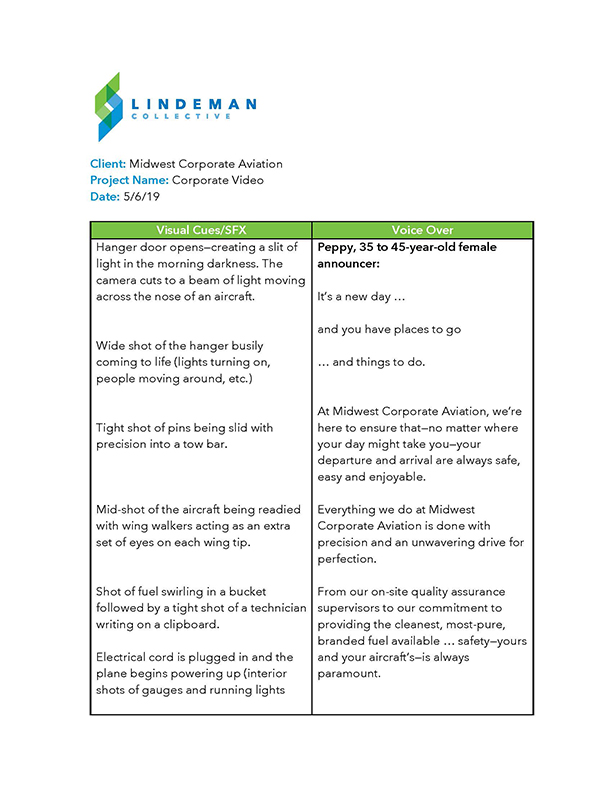
For video, just like we did for radio, we recommend utilizing a two-column layout for your script, with visual cues on one side and whatever is going to be said on screen—or read by announcer—on the other. In addition, many of our other tips for radio production also apply to video—things like reading your script out loud and timing how long it takes you to read it. (Yes, even if you plan on running your video online where you’re not confined to a specific length, time still matters).
From there, create a storyboard of your spot.
Storyboards are pretty much exactly what they sound like, a visual depiction of how you envision your spot looking. Typical storyboards show several key frames of a video along with copy spelling out the action, all while indicating the overall progression of the action.
Whether the images are hand/computer-drawn or stock photos, those used in a storyboard should provide a relatively accurate depiction of how tightly the frame is cropped, the angle of the camera and what else is in the scene.
Once you have all of that drawn out, it’s finally time to start thinking about getting it made.
Assuming you have the budget, and your concept calls for it, begin looking at the online reels of production companies until you find one that you feel can pull off your vision.
Step two: Pre-production
OK, if you thought, “finally it’s time to make some movie magic!” sadly, once again you’re wrong. Instead, you’ve now entered the stage we call pre-production.
Pre-production can be broken down into the following steps (depending on the production company you use, many of these items may actually be handled for you):
- Have a pre-production meeting with your production company to go over your storyboard, discuss key shots and share any inspiration you might have for an overall “look.”
- Scout locations and begin identifying any on-air or voiceover talent you might need.
- Begin making necessary arrangements with any third parties that will need to be involved in the production. This could mean starting the process of getting permits or any other special clearances you might need.
- Hire on-screen and voice talent along with someone to do hair and makeup on the day of the shoot.
- Arrange wardrobe for on-screen talent or write up detailed instructions for those bringing their own.
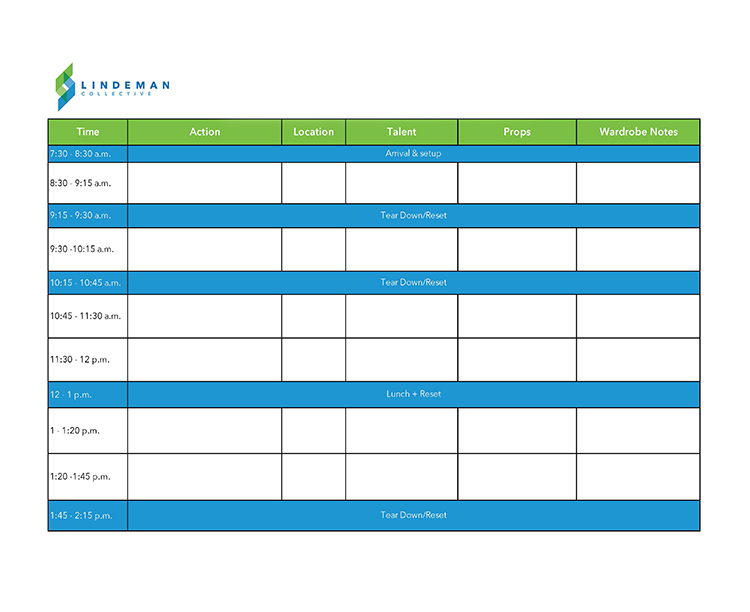
- Create a shot schedule that lays out what you’ll be shooting, when you’ll be shooting it, who you’ll be shooting, what props you’ll need and who will responsible for what during each shot.
Shot schedules rarely follow the order of the script but are instead organized to maximize efficiency. Be sure to allow ample time for each shot and schedule in set up time, travel time and most importantly—meal time.

Step three: The shoot
Now, it’s finally time to shoot!
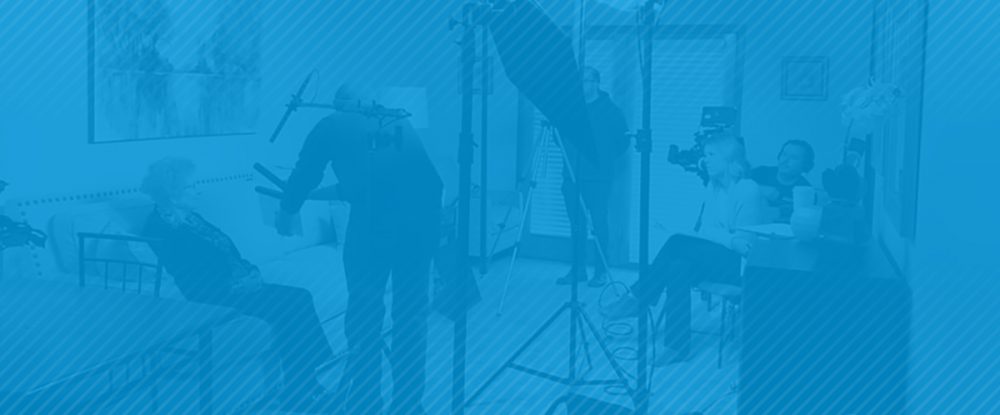
One of the most important things you can do to make the day(s) you spend on set run as smoothly as possible, while leading to a great end product, is to clearly establish roles among your crew.
These include identifying:
- Who’s directing/interacting with the talent
This should only be one person and all input should be funneled through them. - Who’s art directing
The person in charge of art directing should be looking at the entire scene from an artistic perspective to ensure a good background, lighting/shadows and continuity between shots. - Who’s watching the schedule and handling logistics
Staying on schedule and making sure everyone is happy and doing what they need to be doing is probably the most important job to have on set.
With everyone’s roles clearly defined, it is important to stay on top of every detail of the shoot. Watch the monitors, keep an eye on the script and be on the lookout for any problems or potential opportunities you hadn’t planned on (especially potential b-roll).
If you’re working in an agency setting and the client is on set, make sure they are happy with each shot before moving on while attending to any specific needs they might have.
Last, but not least, be respectful of the people you are inconveniencing and the places where you’re shooting.
Step four: The edit
Now that everything is shot, you need to edit it all together to form your final masterpiece.
This can be a long and often tedious process—especially since you’ll probably have several hours of footage you’ll need to whittle down to just a few short minutes—but, if possible, try to be in the editing room when it’s happening. Being on set during the shoot may be the sexy part of any production, but the editing process can be the most creative.
If you are in the room with the editor, feel free to speak up and voice your opinion, but try to keep in mind that you will end up with the best results when it the process is a collaborative one. To avoid coming off too strong, we have always found that a good operating procedure is to pose your input as questions, such as “what do you think about …?”
Lastly, as with everything, don’t stop until you’re proud.
Step five: Finishing up
When you have your video exactly where you want it, get all of the final approvals you need as well as the formats your vendors will need it in. From there, the production company will lock everything down, render any final graphics and adjust the color and sound so that it’s all ready for the big (or little) screen.
The final bit of advice we have is to get a master copy of the finished piece—you never know what might happen or what you could need at some point down the line.
In conclusion
As you can see, there is a lot to think about and many important steps you must go through whenever you’re working on a video project. It can be exhausting work, but it can also be some of the most fun you can have and you’ll get to spend some time with a lot of really great people—some of which may become lifelong friends.
Most importantly, video is a really effective marketing tactic, one that—if done well—can pay for itself.
If you would like to learn more details about any of the aspects of production outlined above, just leave a comment below, or shoot us a message.
In the meantime, here are a few of the video projects we’ve been lucky to have been a part of over the past couple of years (they also correspond to the scripts and storyboards we shared above to show you how it all comes together).
To see more examples of our work, just visit our portfolio.

